
Want to shrink your energy bills and your environmental footprint without emptying your wallet or building a PhD in engineering? Perfect – this guide collects practical, low-cost green technologies and simple behavior changes that beginners can adopt today. I’ll explain what each items does, rough price ranges, installation difficulty, expected benefits (money and carbon) and tips so you don’t waste time or money. Let’s jump in.
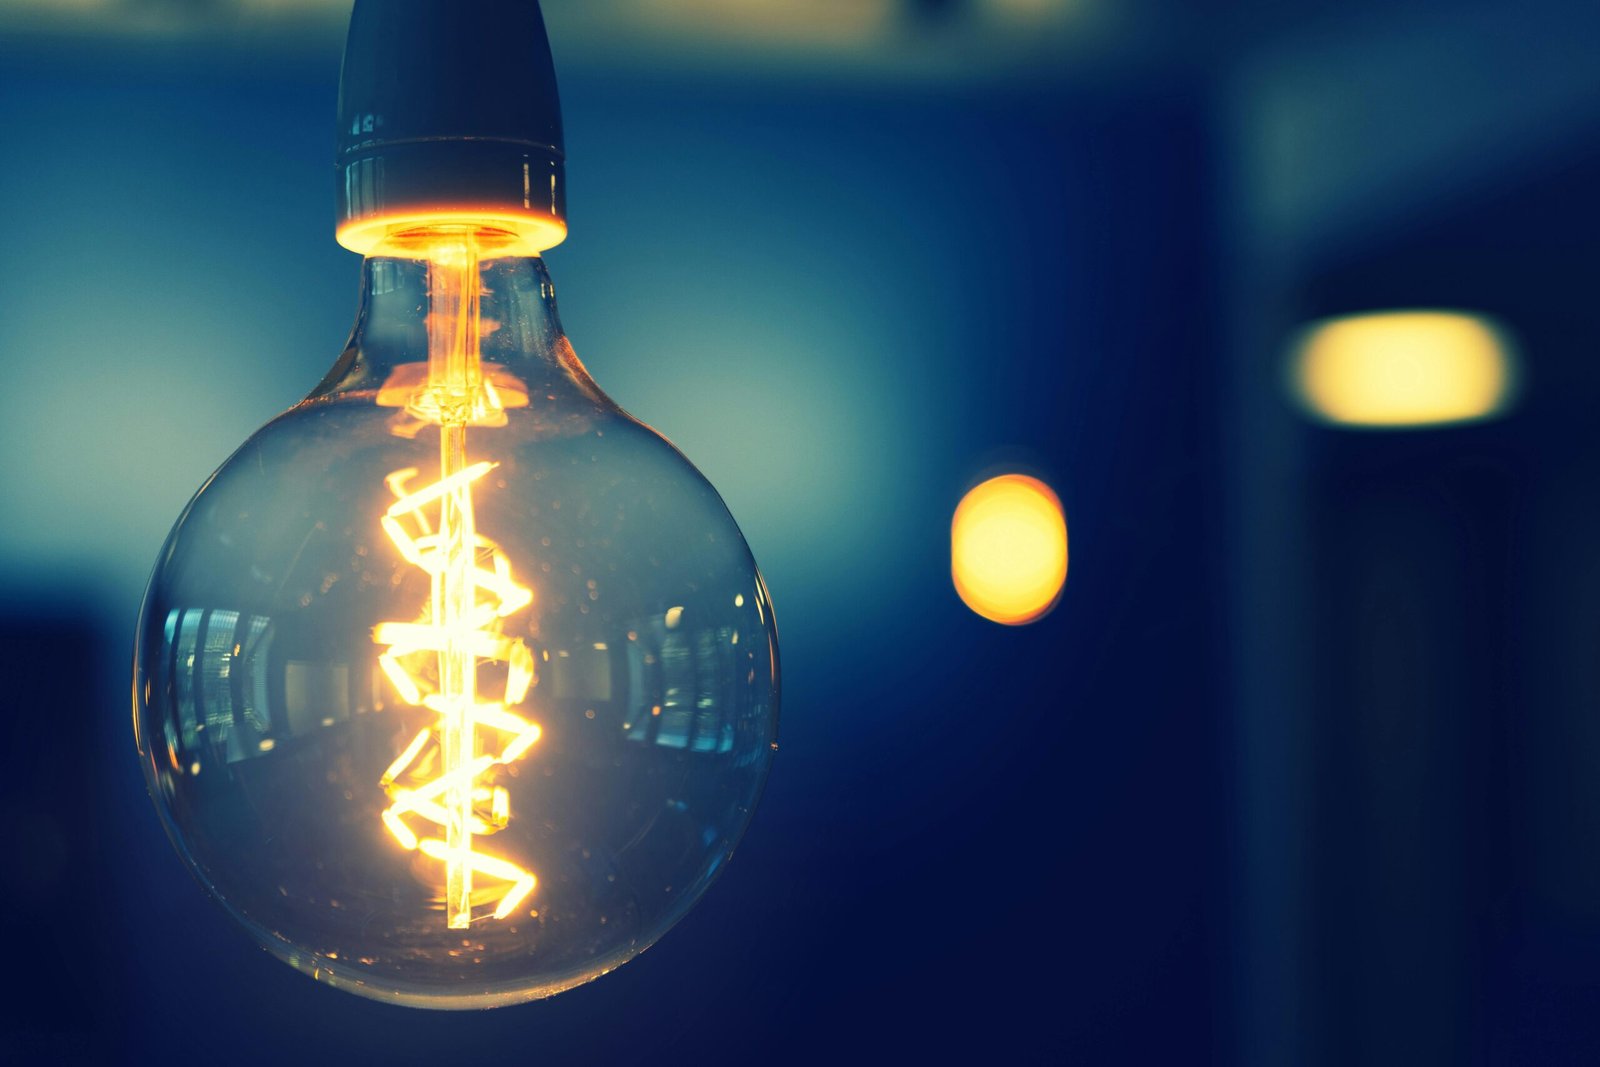
1. LED lighting upgrades – quickest win
What: Replace incandescent or CFL bulbs with LED bulbs.
Approx. cost: $2-$10 per bulb (depending on brand/spec)
Installation difficulty: Very easy – twist in and go.
Why it’s green: LED use 70-90% less electricity than incandescents and last many times longer.
Practical tips:
- Replace bulbs in high-use rooms first (kitchen, living room).
- Look for bulbs with CRI ≥ 80 for better color rendering and 2700-3000K for warm light.
- Use dimmable LEDs with compatible dimmers where you want mood control.
2. Smart plugs & smart power strips – cut phantom load
What: Plugs/outlets that can be scheduled or turned off remotely.
Approx. cost: $10-$30 per smart plug; $20-$60 for smart power strips.
Installation difficulty: Plug-and-play.
Why it’s green: Many devices draw standby power (“phantom load”). Smart plugs let you schedule power off for TVs, chargers, printers.
Practical tips:
- Use for entertainment systems, phone chargers, and desktop setups.
- Create schedules (e.g; turn off TV power strip overnight).
- Check compatibility with your smart-home platform only if you plan to integrate (Alexa/Google/Homekit).
3. Basic home energy monitors – visibility changes behavior
What: Plugs or whole-home energy monitors that show real-time electricity use.
Approx. cost: $20-$300 (plug-in meters are cheapest; whole-home monitors are pricier).
Installation difficulty: Plug-in meters are trivial; whole-home monitors may need simple clamp installation on the electric panel (some DIY; some need an electrician).
Why it’s green: When you can see energy use, you identify wasteful appliances and charge habits – often saving 5-5% on bills.
Practical tips: Start with a plug-in meter to test refrigerators, heaters, pumps. If you want long-term tracking, consider an affordable whole-home clamp meter.
4. Low-flow showerheads and faucets aerators – water + energy savings
What: Devices that reduce water flow while maintaining pressure.
Approx. cost: $5-$30 each.
Installation difficulty: Easy – screw -on or snap-in.
Why it’s green: Less hot water used = less energy to heat water and lower water bills.
Practical tips: Look for showerheads labeled 2.0 GPW or lower (gallons per minute) and aerators 1.5 GPW. choose models with good spray patterns to avoid a “weak” feeling.
5. Programmable (or budget smart) thermostat – smarter heating/cooling
What: Thermostats that schedule temperature changes or allow remote control.
Approx. cost: $25-$150 (budget digital programmable to basic smart models).
Installation difficulty: Moderate – many are DIY if you have a common wire (C-wire); otherwise small electrician job.
Why it’s green: Heating and cooling are the biggest energy consumers in many homes. A schedule or setback strategy can save 10-15% annually.
Practical tips: Use conservative temperature settings (e.g; 18-20°C heating, 25-26°C cooling) and a 6-8°C setback at night or when away. If uncertain about wiring, buy a model with clear wiring diagrams or pay a small pro fee.
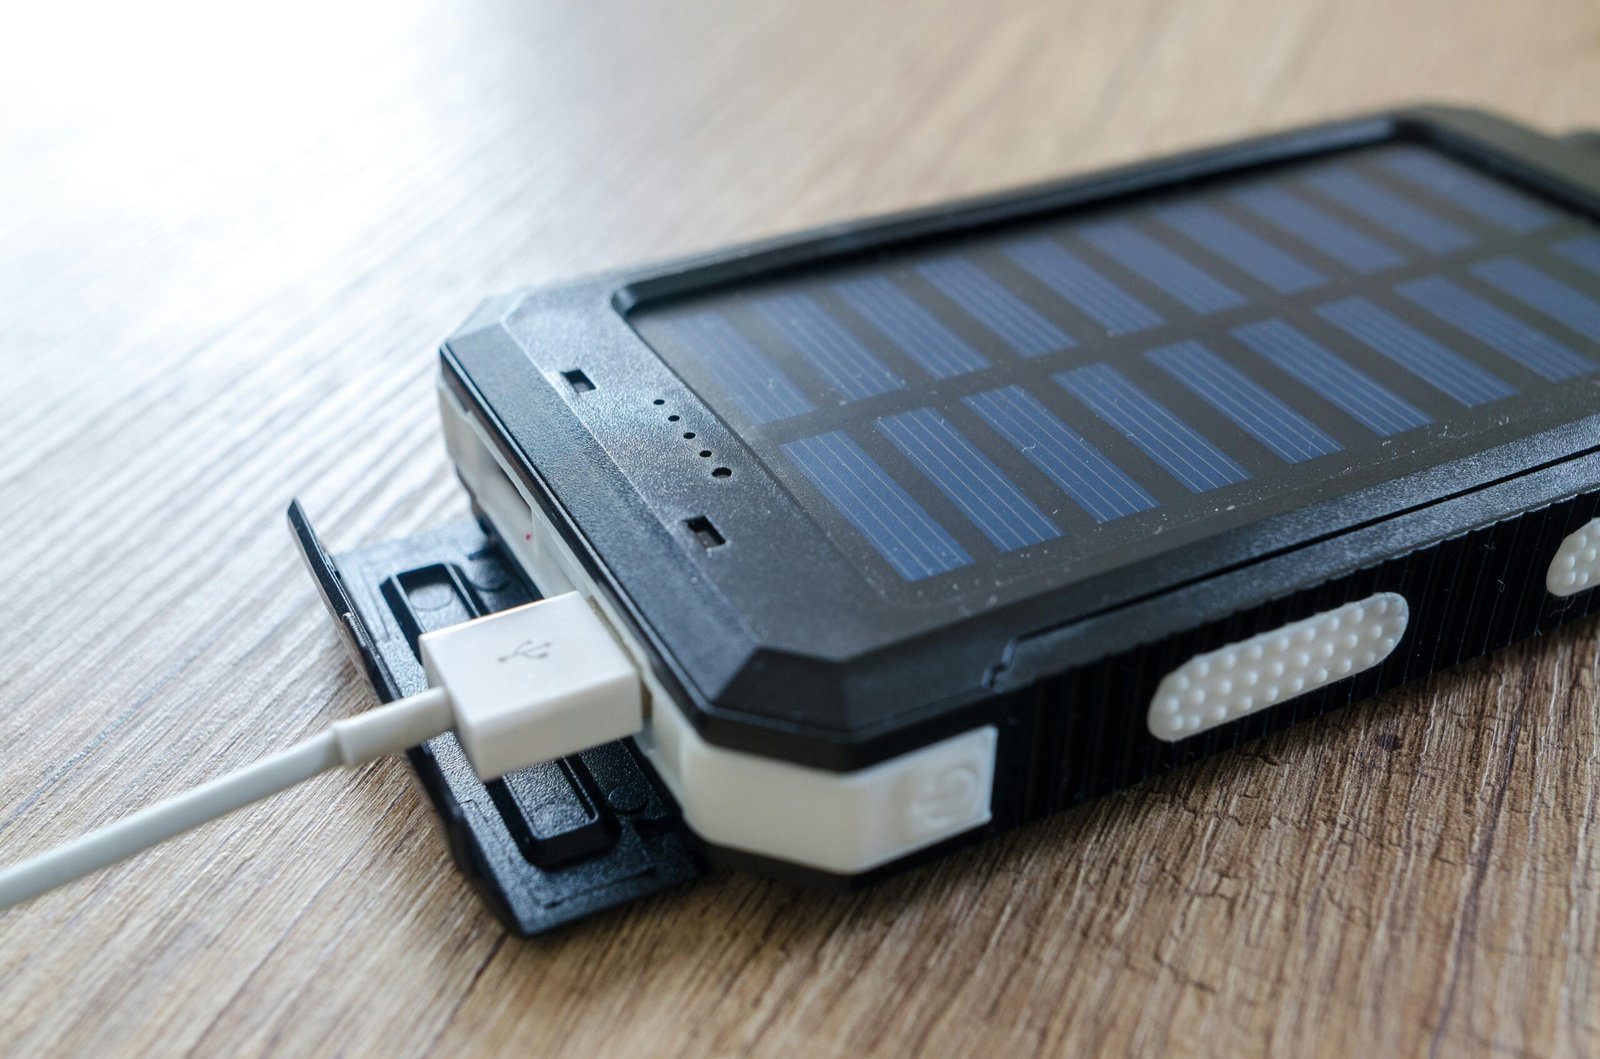
6. Solar chargers & small portable solar panels – enter solar affordably
What: Pocket chargers for phones, small panels; $200-$600 for small portable kits with battery.
Approx. cost: $15-$200 for chargers/panels; $200-$600 for small portable kits with battery.
Installation difficulty: Minimal for chargers; basic for small kits (plug and play).
Why it’s green: Directly offset grid electricity with free solar energy; great for learning and emergency prep.
Practical tips: For daily phone/table charging, a $30-$70 solar energy is practical. If you want to power small appliances, look for small kits that include a battery and inverter.
7. DIY draft-proofing & weatherstripping – ultra cheap insulation
What: Foam tape, door sweeps, caulk, window film, and thermal curtains.
Approx. cost: $5-$50 depending on items.
Installation difficulty: Easy to moderate.
Why it’s green: Reducing drafts reduces heating/cooling demand; often pays back quickly.
Practical tips: Seal gaps around windows, doors and service penetrations. Add door sweeps and use draft snakes for older window. Light-blocking/insulting curtains improve winter performance.
8. Rain barrels & simple water catchment – water for gardens
What: Barrels that capture roof runoff for watering gardens.
Approx. cost: $30-$150.
Installation difficulty: Easy to moderate (needs gutter divergence).
Why it’s green: Reduces municipal water use for irrigation, especially in dry seasons.
Practical tips: Place on a stable base, include a screened inlet to exclude debris and mosquitoes, and use a simple spigot or pump for access.
9. Compost bins – close the loop on organic waste
What: Small tumblers or simple compost piles/bins for kitchen and yard waste.
Approx. cost: $20-$150.
Installation difficulty: Easy.
Why it’s green: Diverts food waste from landfills (reducing methane) and produces nutrient-rich soil for gardens.
Practical tips: Start with a small tumbler if you want fast results and low maintenance. If you have limited space, vermicomposting (worms) is very efficient indoors.
10. Clothesline or drying rack – free drying, big savings
What: Indoor or outdoor line or foldable rack for air-drying clothing.
Approx. cost: $0-$50.
Installation difficulty: Very easy.
Why it’s green: Dryers use a large portion of laundry energy. Air-drying reduces electricity use to nearly zero.
Practical tips: Use the dryer only for heavy items or when you need clothes fast. A heated drying rack exists but skip it if you’re maximising savings.
11. Indoor herb garden & efficient grow lights – low waste produce
What: Small pots or kits for herbs; low-powered LED grow lights if indoors.
Approx. cost: $10-$100.
Installation difficulty: Easy.
Why it’s green: Reduces packaged-herb purchases and transport emissions, indoor gardening can reduce food waste.
Practical tips: Start with low-maintenance herbs (basil, mint, chives). Use LED grow lights only when natural light is insufficient.
12. Reusable everyday items – low-tech green tech
What: Reusable water bottles, coffee cups, shopping bags, beeswax wraps.
Approx. cost: $5-$30 each.
Installation difficulty: None.
Why it’s green: Reduces single-use plastic and associated waste and emissions of producing disposables.
Practical tips: Keep a set in your car/bag to avoid forgetting them.
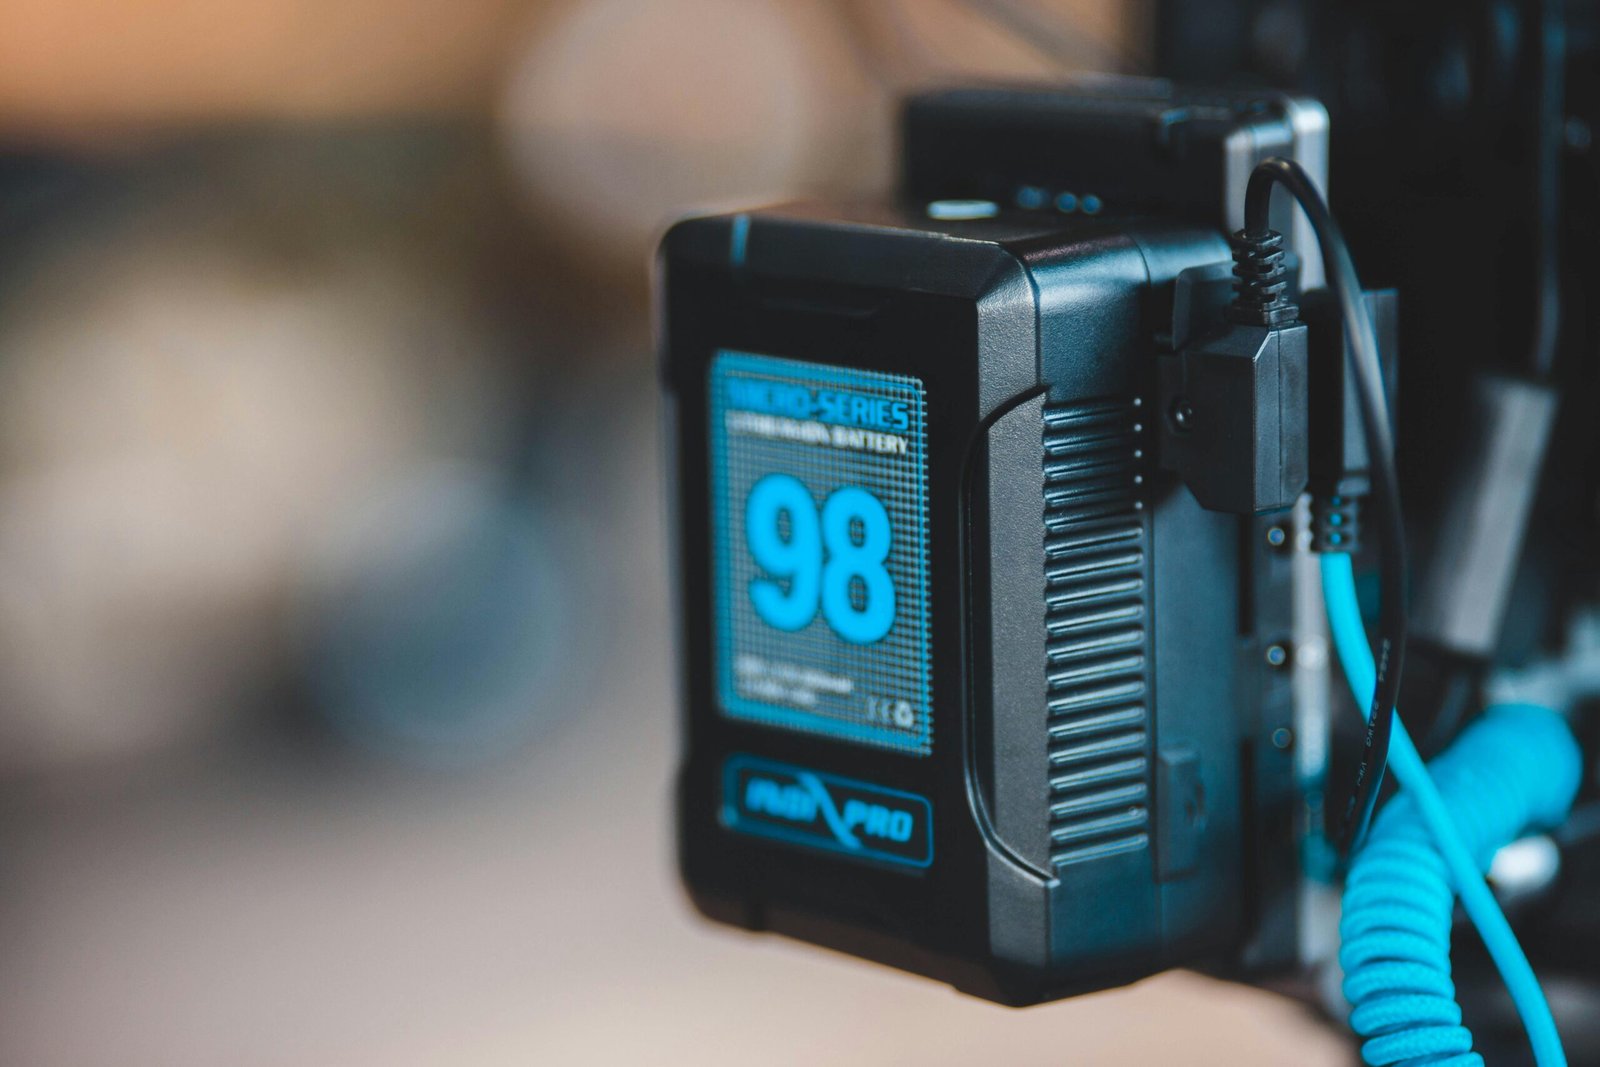
13. Small battery backups & portable power stations (budget models)
What: Compact power stations for camping, emergencies or powering small appliances.
Approx. cost: $100-$400 for modest models.
Installation difficulty: Plug-and-play.
Why it’s green: When charged with solar or used to shift peak electricity use, they can reduce grid reliance. Also useful during outages to avoid food waste.
Practical tips: Choose one sized to your needs: phone/tablet/mini-fridge vs. running power tools. Combine with a small solar panel for off-grid charging.
How to choose the right green tech (beginner checklist)
1. Star with measurement: If you don’t know where your energy/water goes, pick an energy monitor or plug meter first.
2. Prioritize high-use items: Heat, hot water and refrigeration typically use the most energy. Target those first (insulation, thermostat, efficient, showerheads).
3. Low cost, high impact: LED’s draft proofing, and smart plugs give fast returns and are risk-free.
4. Budget for longevity: Sometimes spending a bit more on a durable product is cheaper over 3-5 years.
5. Plan for behavior changes: Technology helps, but habits matter – set schedules, check usage weekly, and make small rituals (line-drying day, compost day).
Typical return-on-investment (what to expect)
- LED’s: Payback in months to 1-2 years depending on prior bulbs and usage.
- Smart plugs & behavior changes: Often immediate savings when used consistently; measurable within a month with an energy monitor.
- Thermostats & insulation: 1-3 year payback depending on climate and heating system.
- Solar chargers/portable panels: Long-term free energy: small chargers pay back fast in avoided electricity for devices.
Remember: ROI varies by climate, local energy prices, and how you use the tech.
Common beginners mistakes (and how to avoid them)
- Buying fancy, unnecessary features: You don’t need the most expensive smart thermostat to save energy, Focus on core functionality.
- Ignoring compatibility: Check that smart devices work with your phone/voice system only if you plan integration.
- Neglecting basics: New gadgets won’t help if your home is poorly insulated or you leave lights on. Combine tech with good habits.
- Over-sizing solar or battery gear: Buy what you will really use. Small panels and battery packs are better for learning and cost control.
Maintenance and safety tips
- Read manuals for electronics and follow charging instructions for batteries.
- Keep vented appliances (dryers, gas heaters) regularly cleaned.
- Check seals and filters (thermostats, water devices) annually.
- For any electrical panel work, hire a licensed electrician if you’re unsure. Safety first.
Where to shop and what to look for
- Big-box retailers and online marketplace often carry budget lines – compare specs rather than brands.
- Look for energy-efficiency labels where available (ENERY STAR or local equivalents).
- Read real user reviews to spot reliability flags.
- Consider second-hand for items like tools, racks or even small solar panels – used often works fine and saves resources.
Small action plan to get started (30/60/90 days)
- First 30 days: Swap high-use bulbs to LED; add 2-3 smart plugs; buy a plug-in energy meter and test major appliances.
- 60 days: Install low-flow showerhead and faucets aerators; add weatherstripping to doors and a door sweep. Track energy usage.
- 90 days: Install a programmable thermostat or small solar charger; start composting and set up a clothesline. Review savings and decide next upgrades.
Environmental impact – why it matters
Individually, these measures may seem small, but combined across many households they cut significant amounts of energy use, water demand and waste. And importantly, they build familiar routines and awareness – the most powerful long-term “technology” for sustainability is the ability to see consumption and change behavior.
Final thoughts
You don’t need to go all-in or buy expensive systems to be greener. Start small, measure and iterate. The cheapest and most effective green tech for beginners are those you’ll actually use: LEDs, simple monitoring tools, low-flow fixtures, and a few smart plugs. From there you can progressively add solar, battery storage, or more advanced home automation when you’re ready.